Use these links to navigate to certain sections in this article:
- Using Event Themes
- Event Details
- Private or Invite-Only Events
- Registration Options
- Event Reminder & Confirmation Emails For Registrants
- Events Registration Requested Email Notifications
- What Events Look Like on Your Website
- Event Registration Form
Creating an Event
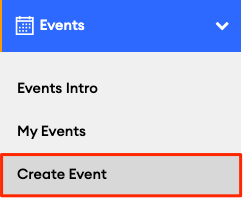
To create a new event, navigate to Events > Create Event in the left-hand navigation of your dashboard.
Event Themes
Near the top of the Event editor, you'll find Event Themes — pre-built templates that give you a head start. These are especially useful if you plan to host an event with one of our Premium presentations like the Halftime Report or State of the Markets.

Select a theme, and we will automatically populate the Event Name, Description, and Landing Page Header Image fields on your event — all of which you can edit. From there, add your date, time, and any event-specific details.
Customizing Your Event Details
When building your event, you'll fill in the following fields:
- Event Name (required)
- Description (required)
- Summary
- Landing Page Header Image — Recommended size: landscape or square, approximately 600px wide
- Event Date, Event Time, and Time Zone (required) — Time zone defaults to Pacific Standard Time (PST). Make sure to update this before publishing.
- Event Location (required)
- Event Disclosures — Use this field to add privacy or compliance language to your event. For example, CPRA/CCPA disclosures. Any text entered here will appear as fine print at the bottom of the event landing page, below the event details and registration form.
- Not sure if you need one? Check with your Home Office or B/D.
- ⚠️ Please note that Event Disclosures only apply to the event you are creating and will not reflect on any other events.
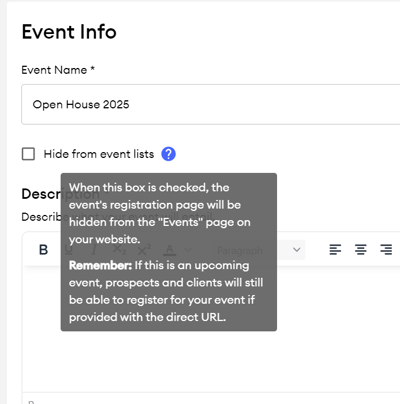
Private or Invite-Only Events
Want to keep an event off your public Events page? Check the "Hide from event lists" box in the event editor. You can then share the event landing page URL directly with the clients or prospects you want to invite.
Registration Options
In the Registration Options section, you can control how people sign up for your event:
- Allow guests to register — Displays a "Register" button on your site so visitors can RSVP. Leave this unchecked if you don't need to collect registrations.
- Registration closes — Set a date and time when registration ends. Once that point is reached, the "Register" button is automatically removed.
- Use custom registration link — Links the "Register" button to an external URL. RSVPs won't be tracked in FMG — you'll manage those in your external tool.
- Limit # of signups — Caps attendance at a number you specify. Once the limit is reached, the RSVP button is disabled and displays "Event Full."

Event Reminder & Confirmation Emails
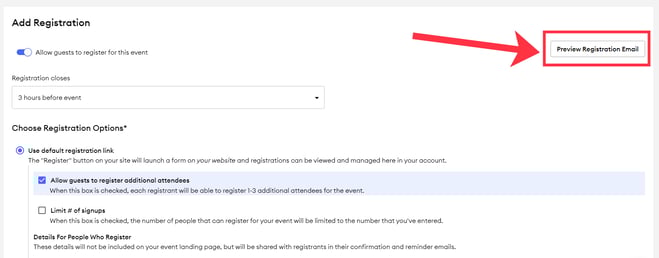
Under "Details for people who register," you can add a message that will be sent exclusively to registrants.
This message is included in two automated emails:
- Confirmation email: Sent immediately after someone registers.
- Tip: You can preview this email directly in the Event Builder using the "Preview Registration Email" button:
- Example of the preview registration email:
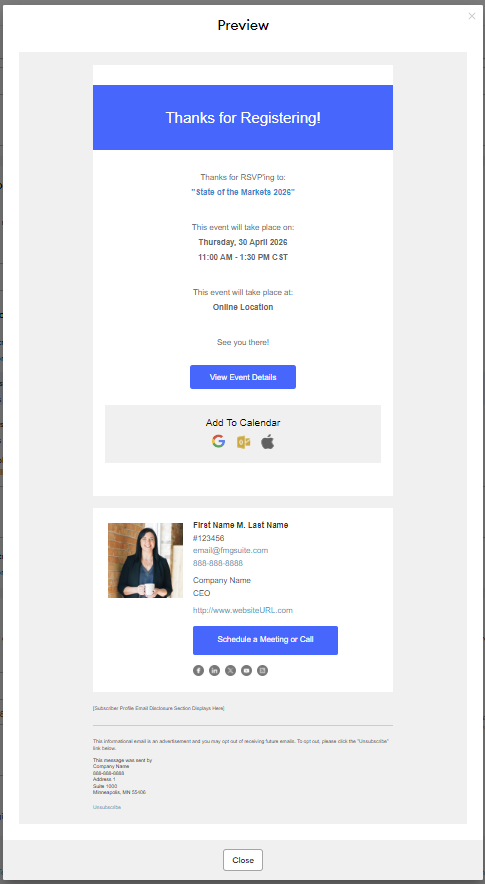
- 💡Registrants can add the event to their calendar (Google, Outlook, or Apple) when they receive their confirmation emails. The calendar event details that will be added to a registrant's calendar: event name, location, date/time, and details for people who register, as they appear at the time of confirmation.

- Tip: You can preview this email directly in the Event Builder using the "Preview Registration Email" button:
-
- Note: Once someone registers, they won't receive any additional event promotion emails. Learn more about promoting events.
- Note: Once someone registers, they won't receive any additional event promotion emails. Learn more about promoting events.
-
Reminder email: Sent 24–48 hours before the event's scheduled start time.
Event Registration Requested Notification Emails
Each time someone registers for your event, you'll receive an email notification. These notifications include the registrant's name and RSVP details.

What Events Look Like on Your Website
Once your first event is approved, the "Events" page will become available to add to as a Website Navigation item, and you will need to manually add the Event tab to your site menu. More details can be found in this help article: Website Navigation
Marketing Suite Only: The event URL will use a standard library-messages.com domain unless a custom domain has been assigned to the landing page.
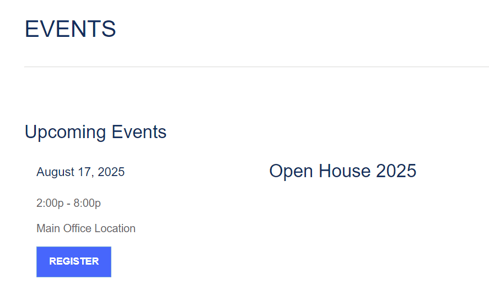
On the event details page, visitors will see:
- Event Name
- Description
- Register Button
- Landing Page Header Image
- Event Date, Event Time, and Time Zone
- Event Location

On the Events list page, all upcoming events are displayed with the same key details.
Event Registration Form
When a visitor clicks "Register" or "RSVP," they'll see a form where they can respond "yes" or "no."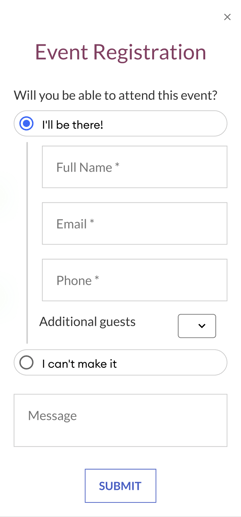
All registrations are recorded in Events > My Events in your FMG account. For details on managing RSVPs, see Managing Your Events.
⚠️ Note: If you delete a registrant from the event RSVP list, they will no longer receive the automated reminder email sent approximately 24 hours prior to the event. Please note that this individual cannot register for the event again.
💡Did you know you can easily promote your events via email, social media, and greeting cards? Learn how to promote your event.
▶️ ON-DEMAND WEBINAR
Want to get more out of your events? Watch our Did You Know webinar, Events: An Easy Framework to Drive Results, for best practices on event planning, promotion, and follow-up — including a downloadable event planning checklist.