Calendly is a powerful tool that streamlines scheduling by helping you find available meeting times. Once you've set up your Calendly account, you can easily integrate it into your website. This guide will walk you through three popular methods to share your Calendly link on your website.
In this article, we will cover the three most common ways to share your Calendly link to your website.
-
How to Add a Calendly Button to Your Website: Add a button section to your website that links to your Calendly scheduling tool.
-
How to Add a Calendly Link to Your Website: Add a link to your Calendly scheduling tool.
-
How to Embed Your Calendly Scheduling Tool Directly to Your Website: Embed your Calendly scheduling tool directly onto one of your website pages.
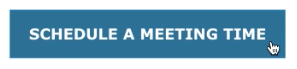
How to Add a Calendly Button to Your Website
Adding a Calendly button to your website provides visitors with a quick and easy way to access your scheduling tool directly from your site.
To add a button that links to your Calendly scheduling tool:
-
Log in to Calendly: Log in to your Calendly account.
-
Select the Event: Choose the event you wish to share and click on "Share."
-
Copy the Link: Go to the Share a Link tab and click "Copy Link."

-
Access FMG Admin: In your FMG admin, navigate to the page where you want to add a button and click "+ Add Section."
-
In the "Text" category, select the "Button" section, and click "Add Section":

-
Click the button to edit the button label and link.

-
Customize the button by entering the text you want to appear on your button and selecting where the button will link to from the drop-down menu.

-
Button Label: Enter the text that you want to appear on your button here.
-
Button Destination: Use this drop-down menu to select where the button will link to. Choose External URL.
-
External URL: Enter your Calendly link here.
-
Open link in a new window or tab: check this box if you would like the link to open in a new window or tab.
Click Save to continue.
-
-
Lastly, make sure to preview your website to make sure your link is working.
For more information on Adding and Editing a Button section, click here.
How to Add a Calendly Link to Your Website
Inserting a direct link to your Calendly scheduling tool makes it easy for visitors to access your scheduling page.

To insert a direct link to your Calendly scheduling tool:
-
Log in to Calendly: Access your account and navigate to the Event Types tab.
-
Select the Event: Choose the event you wish to share and click on "Share."
-
Copy the Link: Under the Share a Link tab, click "Copy Link."
-
Access FMG Admin: Navigate to the page and section where you want to add the link. You can either add a new text section or edit an existing one.
- Insert the Link:
- Highlight the text you want to link.
- Click the "Insert/Edit Link" icon.

- URL: Paste your Calendly link
- Text to Display: Adjust the highlighted text if needed.
- Title: Optional text that appears when hovering over the link.
- Target: Choose "New Window" to open the link in a new tab.

- Publish: Click "Ok" to insert the URL and "Publish" to apply changes. Preview your website to ensure that your link is working.

If you need to edit your link, simply highlight the link and click the "Insert/Edit Link" icon again. You will see the content you previously entered here, available to edit.
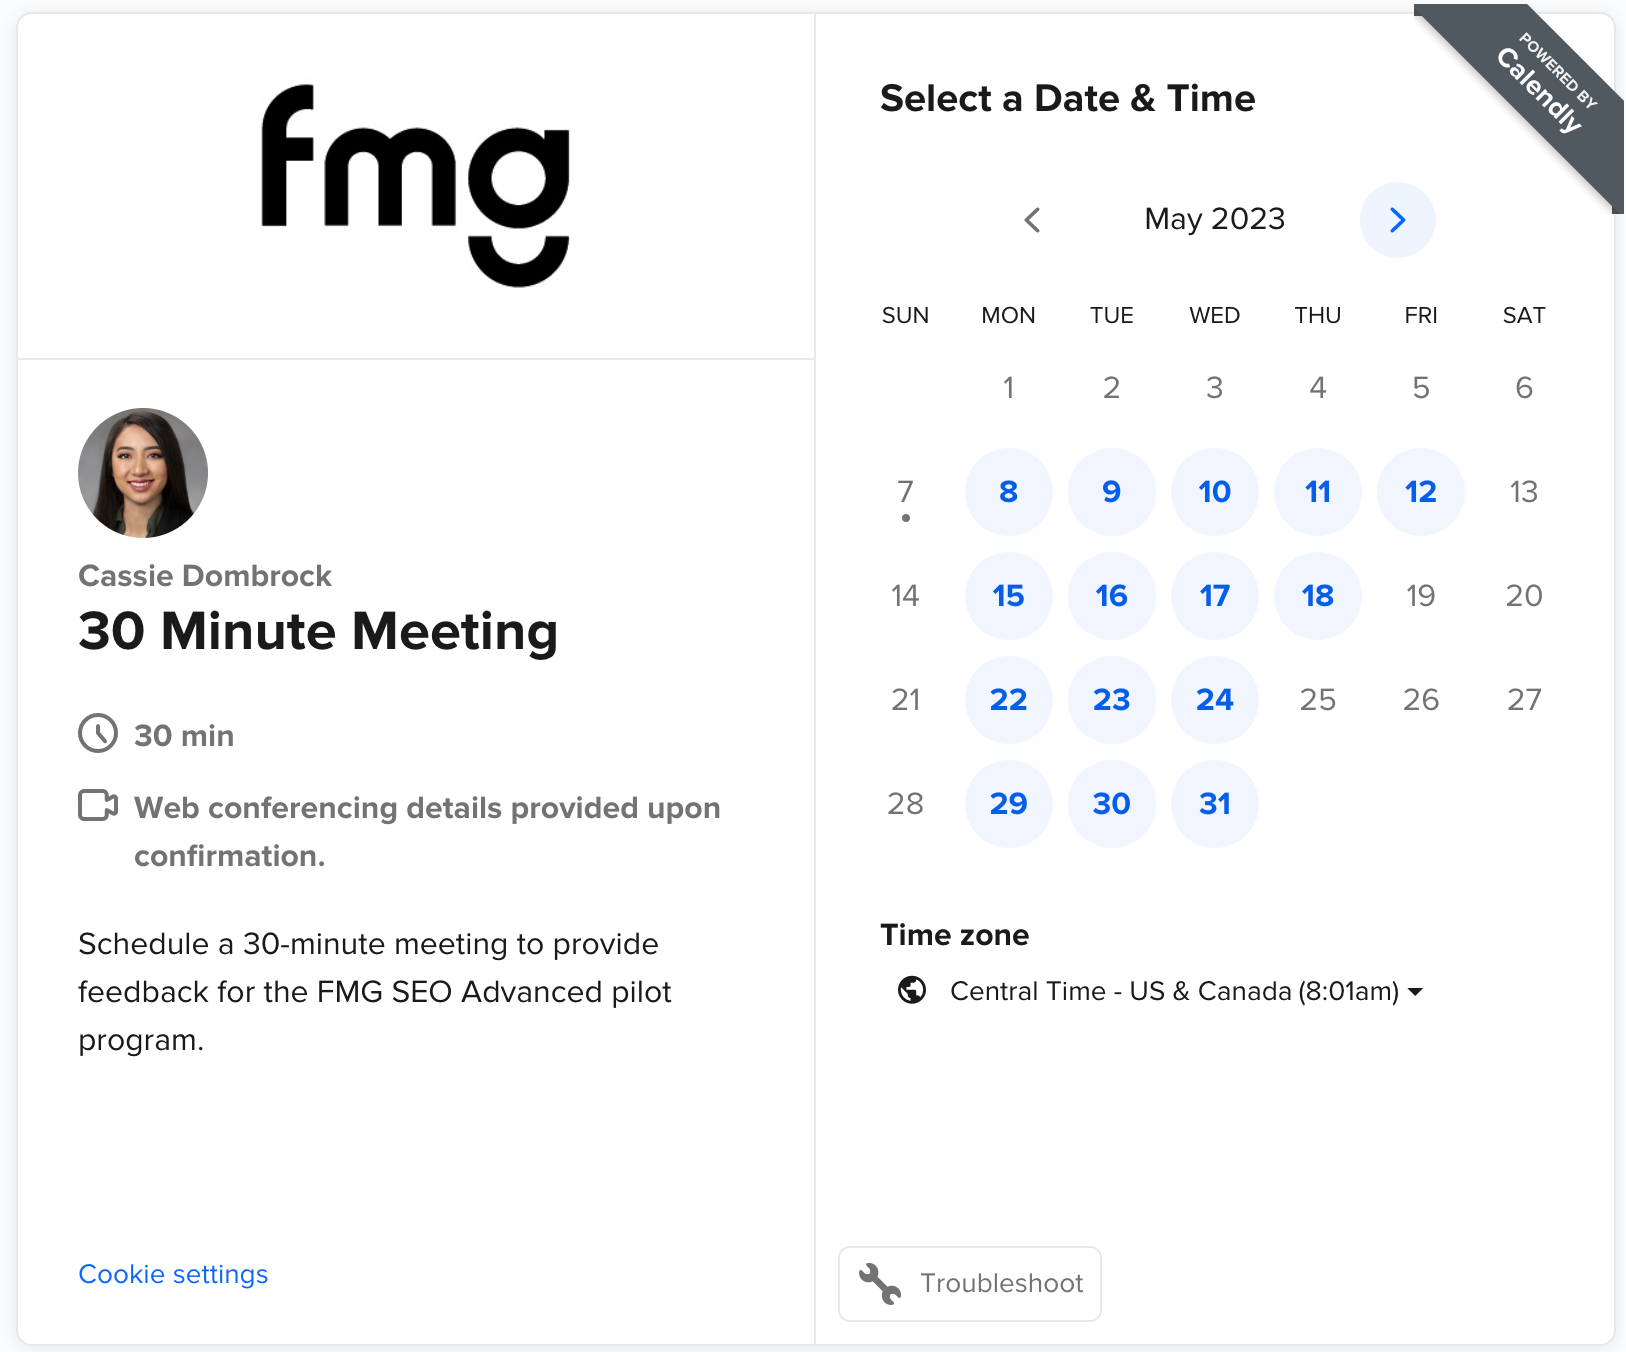
How to Embed Your Calendly Scheduling Tool Directly to Your Website
Adding the Calendly "Inline Embed" HTML code to one of your pages allows someone to easily see your schedule and book a time to meet with you!
To embed your Calendly schedule on a page:
-
Log in to Calendly: Access your account and navigate to the Event Types tab.
-
Select the Event: Choose the event type you wish to embed and click on "Share."
-
Choose Embed Method: Go to the Add to Website tab and select "Inline Embed." Click "Continue."

- Booking Page Settings:
-
- Hide Event Type Details: Select this option to hide your profile picture, name, event duration, location, and description. Then click "Copy Code."
- Hide Cookie Banner: Select this option to hide Calendly's request for cookie consent. Then click "Copy Code."
-
- Access FMG Admin: Log into your FMG Suite admin and navigate to the page where you want to embed the code.
- Add HTML Section:
- Click "Add Section" on the desired page.
- Go to "Widgets" and select "HTML Code." Click "Add Section."

- Paste the HTML code into the section.
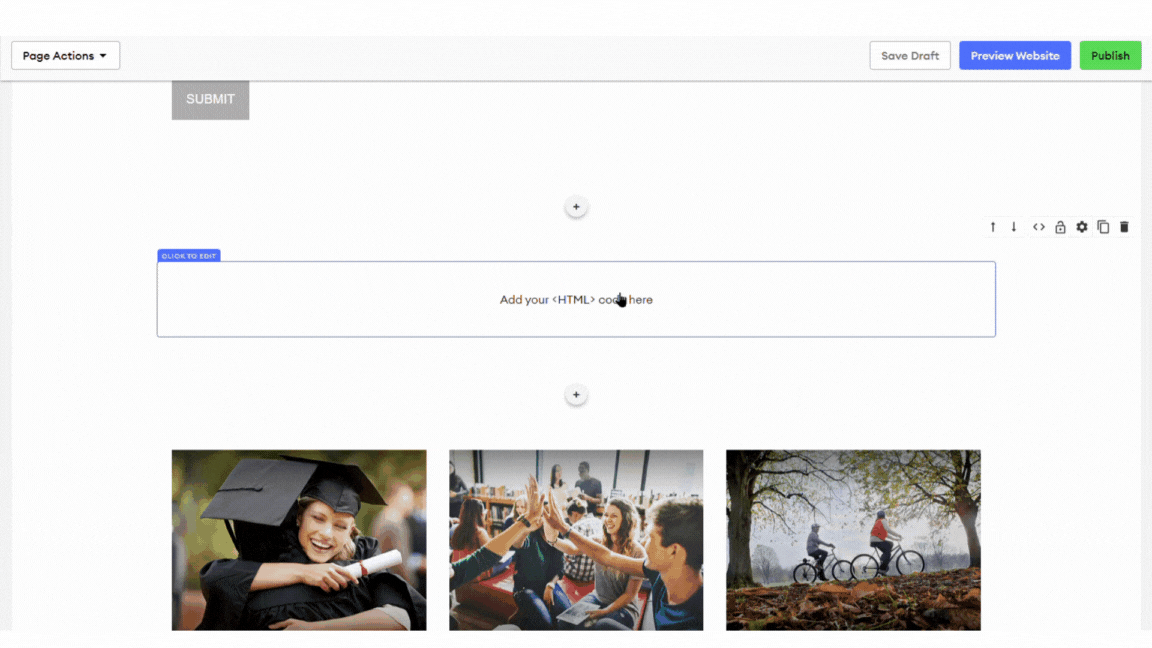
- Click "Add Section" on the desired page.
- Publish: Click "Publish" to finalize and submit the changes for compliance approval.