Adding a box section to your webpage is a quick way to create visually engaging layouts that highlight key information in organized rows. Whether you want to feature two, three, or four boxes in a row, this guide will walk you through the simple steps to customize your site using the "Boxes" section in our website editor tools.
How to Add Box Sections to a Webpage
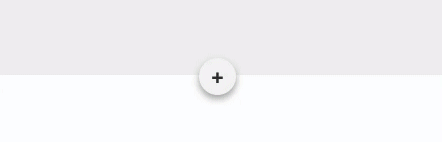
To add a boxes section to a page on your site, click "+ Add Section" on a new or existing page:
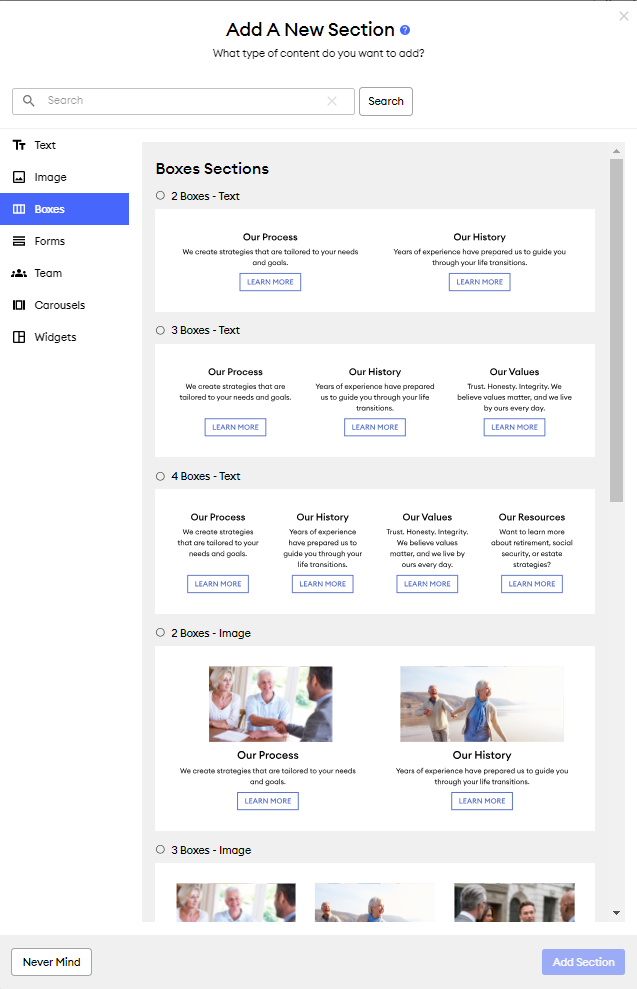
In the "Add a new section" modal that opens, click "Boxes," then select the ideal number of boxes and layout for your section:
Editing the Section
Click directly on the text to start editing the paragraph or headline in each box. To change images, just click on the image, and the image uploader will appear.
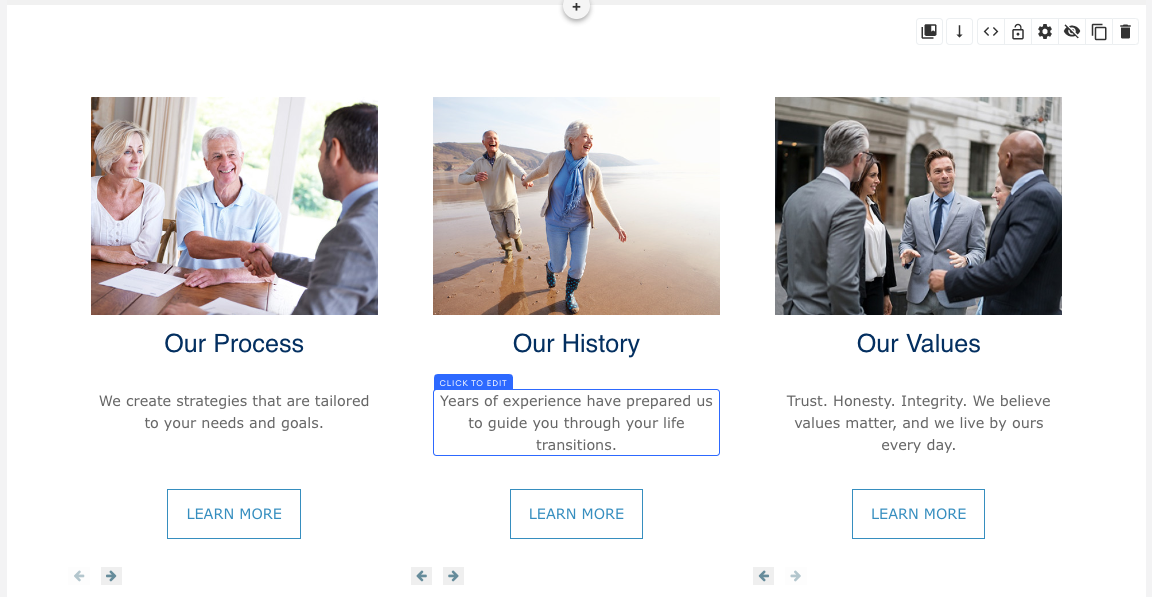
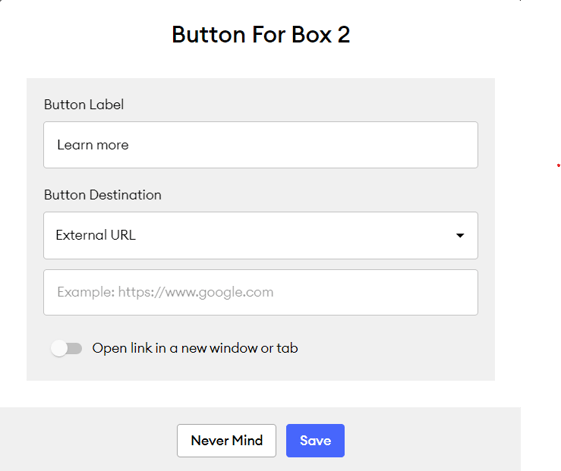
To change the button's destination and label, click on the button, and the button editor will appear:
Note: Depending on your website template, you may see a "Content Options" button in your sectional editing tool:
Those options allow you to feature FMG content on your webpage. Click here to learn more!
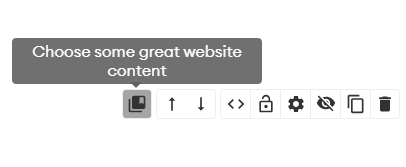
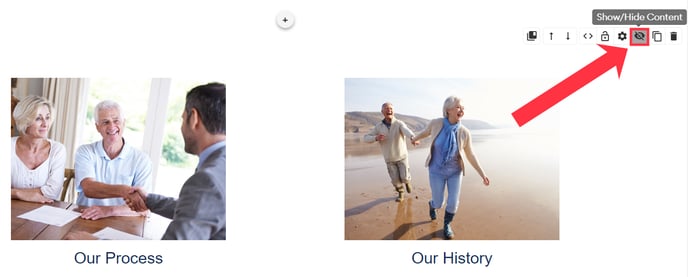
Hiding Elements in the Boxes
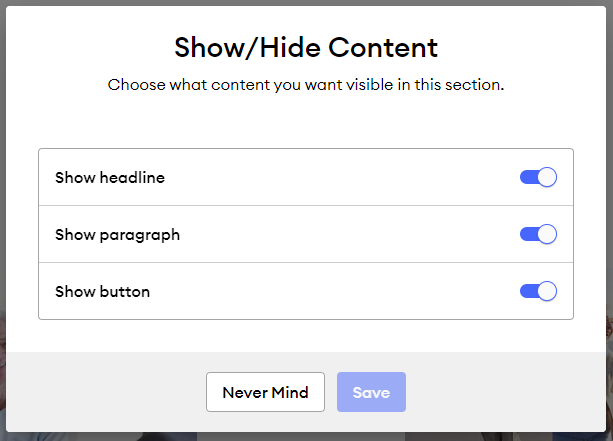
If there are some aspects in the box section that you want to hide, select the "eye" icon in the sectional editing tool:
Then you can toggle off the content headline, paragraph, or button:
Box Section Settings:
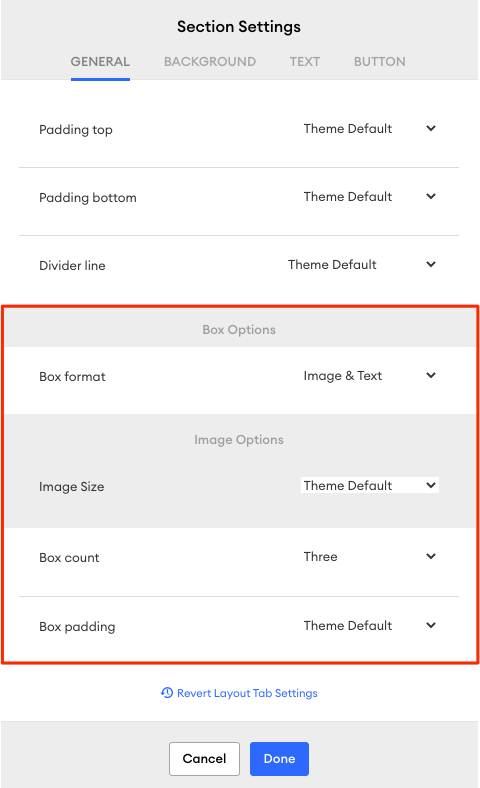
If you change your mind and decide you need fewer boxes or would like a different layout, there's no need to start from scratch! Click the "gear" icon in the sectional editing tool to open the settings:

In the "Section Settings" modal that opens, you can edit your box options:
Save Changes
Once you've finished editing your page, save your changes as a draft by clicking "Save Draft." You can then "Preview Website" or "Publish" your changes.
