Creating a blog post is an excellent way to add unique content to your website and attract more visitors. In this article, we will cover how to make your own blog post or use FMG content and publish it on your website!
Use the links below to jump to a specific section in this article quickly:⛔ Please note that blogs are available with Website Suite Premium subscriptions and packages.
How to Create a Blog Post
- Access the Blog Posts Section: In your FMG admin, navigate to Blog > Create Blog Post:

- Create Custom Blog Content: You can add or create your own blog content on the Create Blog Post page:

- Title*: This will be the main headline on the blog post and appear on your blog's landing page
- Author: You can choose to designate any of your team members as the author of a post
- Post date*: This will default to today's date, but you can be proactive and write several blog posts with future post dates, then sit back and watch those blogs appear on your site at the scheduled date.
- ⚠️Note: if your content is not approved by compliance by your selected post date, the content will simply be published as soon as it's approved
-
Post content*: this is your blog post! You'll recognize the editing tools available to you - similar to our "Rich Text Editor" sections. Feel free to enhance your post by incorporating various multimedia elements. You can include videos, images, attachments, and so much more!
-
⚠️Note: When you upload a video, the thumbnail will automatically be set to the first frame of the video, and you will have the option to download this image. Please note that you currently cannot upload a custom thumbnail for the videos using the blog post editor.
-
- Featured image: the image you add here will appear next to your post summary on the main blog landing page, as well as on your post:

- 📸 Recommended image size: We recommend that the image layout be either landscape or square and, at most, 800 pixels wide. The platform will appropriately downscale the feature image for the blog thumbnail image.
- Preview and Save as Draft: Before publishing your post, you can preview it and make any necessary changes. You can also save your post as a draft and come back to it later.
- Publish Your Post: Once you're satisfied with your post, click the "Publish" button to submit it to compliance. Once your post is approved, it will appear on your website's blog page. ✔️
💡Check out this related help article to learn how to add your blog page to your website navigation menu: Starting a Blog
Removing Blogs from your Website
If you wish to remove a blog from your website, it cannot be unpublished and saved as a draft; it must be deleted. Here is how to delete a blog from your website to remove it:
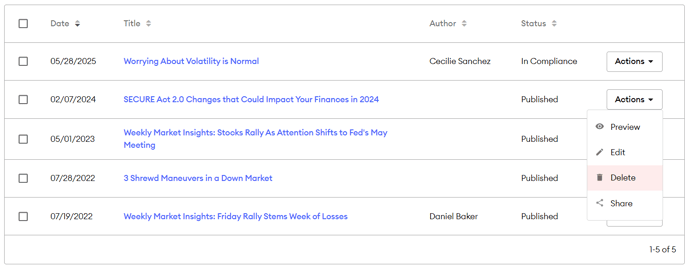
- You can delete a blog in the Blog > My Blog Posts section of your dashboard, select the "Actions" dropdown next to the blog post you wish to delete, and click "Delete."
- ⛔Please note that deleting a blog is a permanent action.
Using FMG Content as a Blog Post
Emails from the FMG Content Library can be used to create a blog post. This is handy if you don't want to create custom content or if you want to use it as a starting point for editing.
⛔Please note that access to the FMG Content Library emails, which can be used as blogs on your website, requires a Marketing Suite subscription.
- To add an email as a blog post, navigate to the Content Library in your FMG Admin (FMG account).
- Select the Emails card on the Content Library homepage:

- Now, you can search through the available emails that can be used as blogs. Note that email sequences cannot be used as blogs.

- Use the search bar to find content related to specific topics, such as retirement or taxes.
- Use the "Author" filter to find specific content from your Home Office, FMG, and more.
- Select the title of the content to preview it.
- Once you've found an email content piece you want to use as a blog post, select the 3-dot icon next to the content piece:

- Then click "Use as blog post" from the drop-down menu:

- This will bring you to the blog post editor, where you can make edits to the content, change the author and post date, and then select "Publish" when you're ready to submit the post to compliance.
🤖 Are you looking for AI assistance with writing a blog post? Check out our AI content creation tool made specifically to help advisors write blog posts: Muse for Blogs