Page and content gating is a great way to generate leads by requiring website visitors to provide their contact information before accessing certain content on a website. In this article, we'll be covering:
Content Gating
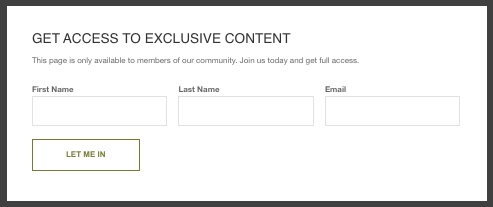
If you're looking for a way to gather leads from your website, our content-gating feature might be just what you need. With content gating, visitors are required to provide their name and email address before accessing certain content on your website. This contact information is stored in your admin, allowing you to follow up with your leads later.
The content gating feature will gate all web content in the Content Library. Note you cannot gate individual pieces of content.
To gate content:
-
Navigate to Website > Popups:

-
Locate "Access Gated Content" and click "Enable Popup":

-
In the Configure Popup modal, check the "All FMG Content" box, and click "Save" to save your changes.

Your web content is now gated!
Page Gating
Page gating is a marketing technique used to generate leads by requiring website visitors to provide their contact information before accessing certain pages on your website. This contact information is then stored in your admin, allowing you to follow up with your leads later on.
You can use the page gating feature on these page types:
How to Page Gate Custom Pages
To gate a custom page:
-
Navigate to Website > Pages, and open the page that you'd like to page gate.

-
On the top left of the page, click the Page Actions dropdown menu and select "Add a popup":

-
In the Lead Generation Popups modal, select "Access Gated Content." Click "Publish Popup Choice" to save your changes.

Your page is now page-gated!
How to Page Gate System Pages
-
Navigate to Website > Popups:
-
Locate "Access Gated Content" and click "Enable Popup":
-
In the Configure Popup modal, you can select the system pages you'd like to gate.
How to Page Gate Blog Posts
-
Navigate to Blog > My Blog Posts:

-
Locate the blog that you'd like to gate, and click Actions > Edit:

-
Click the "Add a Popup" button:

-
In the Lead Generation Popups modal, select "Access Gated Content." Click "Publish Popup Choice" to save your changes.
Your blog post is now page-gated!
Gated Content Configuration
The gated content settings can be configured with the following:
-
What pages will have the popup
-
From what sources will the popup show up
-
When will the popup show up to visitors
To configure your settings:
-
Navigate to Website > Popups:
-
Locate "Access Gated Content" and click "Enable Popup":
-
In the Configure Popup modal, you can customize the following:
-
Locations: Select the pages you'd like to gate
-
Sources:
-
All Traffic: This is the default when gating is enabled on a page.
-
Social Media Only: If you share a gated page on your social media, you can collect the information for visitors that access your page from the social media page
-
Search Engines Only: This is often called "organic" traffic
-
Social Media/Search Engines: This will gate from both social media and search engine sources
-
-
Display Options:
-
Immediately: The popup will be shown immediately when the visitor opens the page
-
Timing: The popup will be shown after the entered amount of seconds
-
Scroll Percentage: The popup will be shown when the visitor scrolls to the entered percentage of the page
-
Exit Intent: The popup will be shown when the visitor is about to leave the page
-
-
Note: If visitors to your website have already provided their contact information, we will not display this form again.